Showing posts with label render. Show all posts

Friday, March 2, 2012

Zombie Boy tutorial

After tweaking a bunch of stuff, I decided to do a quick break down of how I went about doing this image.

After doing the Alien and Zombie Boy I received a few emails asking me about different techniques I used in making it, so I figured to answer any and all questions I would go in and break it down from beginning to end.  

Modeling 

So first I started with the base mesh of a kid project that I did,  and modified to to how I needed it to be I immediately saw this staggering zombie lurching forward in my head.

And so began detailing the thing. I wont lie, I don't like using a lot of brushes.  I do love the clay buildup brush.  It allows me to work fast and frenzied.  I set this to a low intensity and really grow the form. 
I tend to go in periodically with the DMS standard brush, and chisel in details that I know will be needed later one.  once everything is really set, on the lower levels I go in with the soft form brush and build up what I missed.  
I don't like using the inflate tool too much, only because it tends to get tricky to use on higher levels.  


Now its very important to note at this point and all points in the process that I'm constantly looking at and adjusting the silhouette.  This is probably the most important part of the sculpting process, as it will determine how your figure reads when compared to any background.   

This image below shows perspective turned off, my mistake I admit, so its not a real example, but I do want to put something here to illustrate the point.  It really is important.


As for pore detail, those that know me know I can be a bit of an impatient person when it comes to stuff like that (something I'm working on as an artist.)  I do relish in use of the surface noise plugin in zbrush.  By masking off and applying different variations of noise, I can quite quickly lay down a dynamic looking set of pores.

I then set the clay polish tool to -1 and surface to +1  and it gives me a natural blurring of the pores into the skin. 


Texturing & UVs

Texturing is something that I truly love in zbrush. Mudbox fanboys will piss and moan about per poly painting, but the speed at which I can paint naturalistic textures is something I love.  To make it simple, my texturing process for all of my models is the same.  I start with a dark color, and work lighter.  Its an additive process that I feel really works well.  

As for painted skin textures (as many asked about the alien piece I did) the trick is to not pain solid colors.  Granted looking at it now I probably could have pushed the textures a bit more, but in any case the brushes used was a standard brush  set to color spray, with a speckled alpha.

I set the spray to around .7 so that I get an even coat, without seeing the actually edge of the apha, or seeing it repeat.  

I like to mask off, the cavities, and fill with a 3% dark tone, its not really visible but does get picked up in maya.  

The teeth and tongue were done the same way.  


At this point I'm ready to UV.  Using the plugin UV Master, I do a quick and dirty rip of the mesh.  It was good enough for me to edit.  I know the head is oddly placed, but it worked for what I needed it to do.


 Planning and Maya

So now with texture at hand I begin looking for a set up that I feel is what I want in my final image. I decided to go with the center one in this case.


Taking a cue from the "Make it look real with Mental Ray" tutorial, I then exported a normal map for the 4th level of detail.  I then created a low res displacement map (about 1024px) for any detail lvl 4 and beyond that needed that extra pop.


And then it was on to maya.  With everything ported in I began first with lighting, to recreate what I did in Zbrush.  I came up with using two spotlights, one with Area light turned on.  Its a bit different than using an area light, I feel I can get a sharp/soft mix that I want quicker that way.


I then assigned the Mental Ray Fast skin shader to pretty much every thing haha.  I didn't touch the values, I could have but in in seeing so many Vray renders with default settings I said "why cant mental ray?"  Master Zap took a lot of time making sure those values matched what was accurate for flesh, and so I only scaled the effect to fit the character and lowered the sub-dermal weight (as he was dead)

some texture samples :


Finally I rendered with FG on and a simple color for environment.  Then I took it into photoshop and finished it.

I now adjusted said image here (just adjusted curves a bit):


Tuesday, January 24, 2012

zbrush 4r2b beta testing

I was a beta tester for the new 4r2b, here are some images that I created, when I was doing my thang.

 \

Thursday, January 5, 2012

Sunday, December 25, 2011

Merry Christmas Every Body

Something Quick I did for christmas in between wraping gifts and such. My take on the ghost of christmas future from the Dickens novel "a Christmas Carol".
I figured a beaten, deformed, naked woman was more disturbing than any cloaked thing.

About an hour and a half over all.


Wednesday, December 21, 2011

Demon Born and 25 Members!

Okay so new piece:


Also I just checked and saw that this blog now has 25 members following it.  As per the post before I'll be posting not only a free tutorial but giving away a free model that goes with it! :)  Check back soon for more

Wednesday, October 12, 2011

just a quick BPR Render

not done, but playing with setting, trying to get it so that even for the subtle bits I wont need to use photoshop.  not quite there but I'm liking it.


Tuesday, October 11, 2011

Issue 33, 3D Artists image of the month

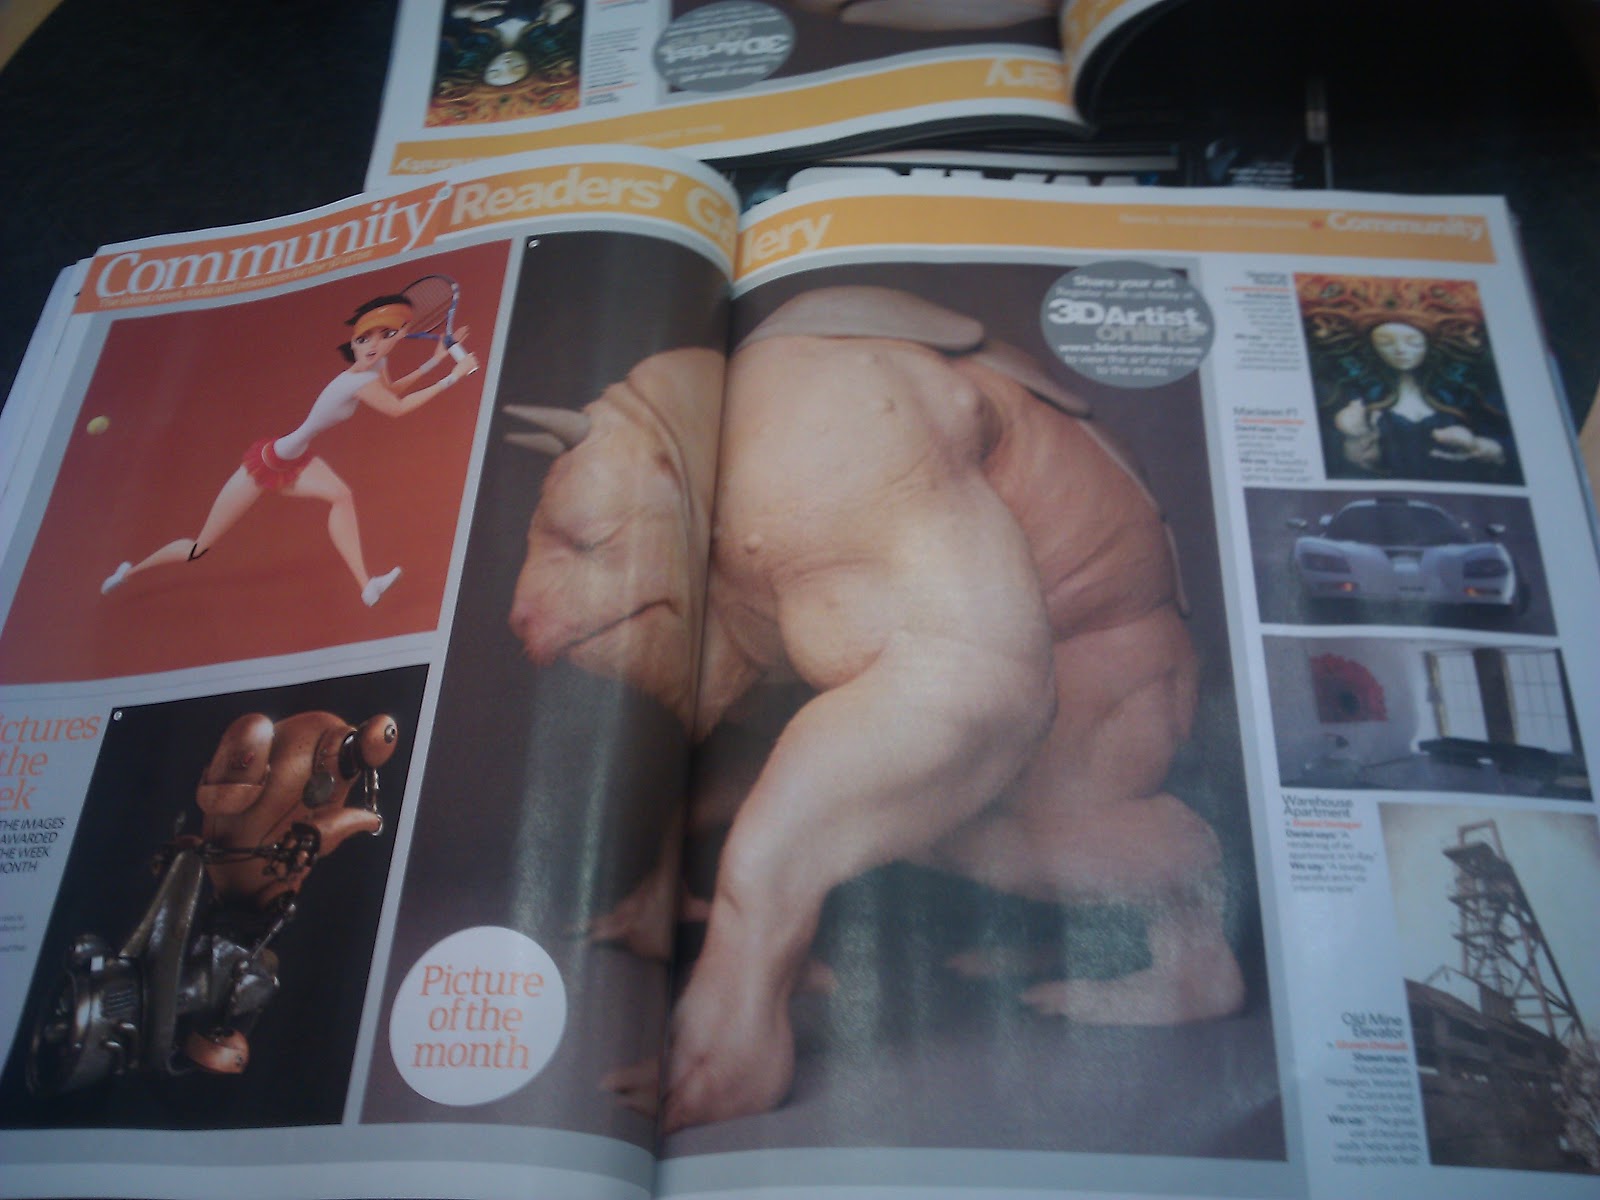
Hey all I just wanted to pop in and say that issue 33 of 3D Artists is out by me. Old new for some of you, haha. In it you'll find my creature as image of the month in the readers gallery (albeit a bit blurry).


Thursday, October 6, 2011

Wednesday, September 28, 2011

Thursday, September 22, 2011

another for the pile

did this over breakfast, for a reason or another.


from a sphere about 40 min

Wednesday, September 21, 2011

ZBrush 4R2 Beta Testing


I owe zbrush a lot. 

It is one of the main reasons why I have a public face in the 3D world. In the beginning I was a maya kid all the way. A friend of mine introduced me to the program he used for toy design, a small program called zbrush, and after that I knew what I was meant to do. Digital sculpture has changed so much since when it started. In an odd way its goal was never to progress, but rather revert. The closer the program came to its clay origins the more a success it was. With the release of R2, I can say with almost no doubt that not only has the origin been reached, but clay will leave envious of more than an undo button.

I came onto this project a little late, a little over two weeks before images were due. I stressed thinking what a task this would be, what I didn't know was this version of zbrush was different than the others. I found myself unchained, unleashed, and unaware of the speed at which I was producing.

Off like a rocket I flew sculpting like never before

Dynamesh became my new best friend, allowing my to take spheres and turn them into anything I want:


From nothing other than my own imagination I was able to turn any kind of geometry into any character I felt. I was truly free to create as I wanted.


Just to show you how far you can push dynamesh, I gave him a close up too :P


Dino from a sphere, had a good time doing this one


The sphere became my best friend allowing me manipulate forms unlike anything I've been able to do.


With it whole new styles began to emerge because of it


One of my old professors as he ran around the room:


And a fat kid in a panda suit


Rendering in ZBrush.

The idea of rendering in zbrush is nothing new, but with the addition of HDR and the ability to alter things with BPR filters, the game for me changed significantly.

I'm the kinda guy who doesn't like to move around a lot. The more I can stay in one program the easier it is for me to focus. Conceptual work can be done now from beginning to end within this program. And I love it.

This Mermaid was done from a sphere in one hour. The actual render used no photoshop what so ever, the end result being layered filters found within the BPR filter itself:


This devil's render was my second play with the bpr filters.


This butterfly was the first successful test I did with the wax shader as a skin shader, I was so happy with how this came out.  I also put a quick vid showing the very very beginning of the sculpting process and what I go through when making a model like this.


The shader used, was later developed further and used again on my alien piece, one of my favorites from the sessions


And finally was the head I did to document a video tutorial on how I created this shader, it uses 3 variations of the material all blended together using zbrush's new material blending system.


 More of the same

This piece was done using the new curve brushes, really interesting things. Every thing from the wrinkles to the poly paint was done using the curves as a base.


a snippet of the base material, of which three versions are applied to the final model.


The Idea of rendering continued, but I realized I had no real videos of me modeling.

I decided I would (from a sphere) design a realistic creature


I also wanted to play with the new noise plugin

one afternoon I popped out this imagea napping old man and it made me smile:


And theres more of course, but its mostly scraps here and there, once polished they'll pop up somewhere haha. Making these sculptures I used every single new feature available to me. It was like using a completely new program, without learning anything. All the features were intuitive and just worked (most of the time haha). I never felt more at ease then with using these features.

I'm so glad I got a chance to help further along such a great program, and I look forward to future betas with such a great company.

Thanks for stopping by and, of course, happy zbrushing

-Matt